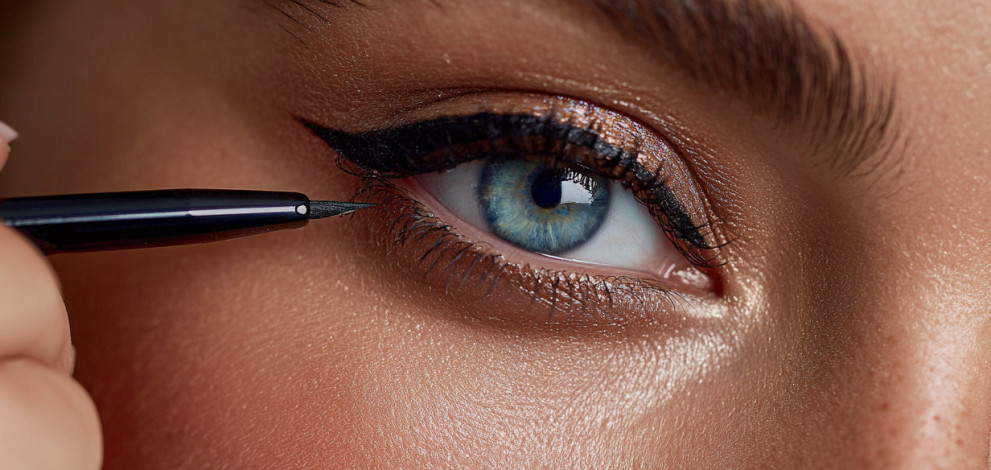
Applying an eyeliner is no less than an art and to master this, you need to know how to apply it like a perfectionist.
An eyeliner can make or break your look. In fact, it wouldn’t be wrong to say that an eyeliner eventually defines your look, be it a winged eyeliner for the perfect night out look or a subtle line for a traditional appeal, eyeliners adds drama to your eyes and can make your eyes appear bigger, sharper, and more defined.
Yet, for most of us, applying an eyeliner feels like an art form that requires a steady hand and endless patience. The truth is, with the right products, techniques, and a bit of practice, applying eyeliner would feel like a cakewalk. And to master that art, we have this guide to help you apply eyeliner like a pro!
Prep Your Eyes
Before you even start practicing eyelining on your eyelids, make sure your eyelids are prepped. Just like your skin, your eyelids also need a TLC for the liner to stay put and doesn’t let them smudge halfway through the day.
Cleanse and moisturise: Start with clean skin and apply a lightweight, oil-free moisturiser around your eyes.
Prime your lids: Use an eyeshadow primer or a dab of concealer on your eyelids to create a smooth base. This prevents creasing and helps the eyeliner last longer.
Set with a setting powder: Dust a little setting powder on your eyelids, as it will absorb excess oil and keep your liner in place.
Choose the Right Eyeliner
The right kind of eyeliner can make all the difference. Before you start practicing, you can have a look at each of them for a better understanding from the breakdown below:
Pencil eyeliner: One of the most common and easy to use eyeliner! It is great for beginners, is easy to control and ideal for smudged or soft looks. However, it lacks the ability to give you a sharper eyeliner look.
Liquid eyeliner: This eyeliner is perfect for precise, bold lines and dramatic wings. However, since, liquid, it requires a steadier hand.
Gel eyeliner: This eyeliner offers the intensity of liquid with more control. It gives an intense colour payoff, is long-wearing and the waterproof options give you a smudge-proof look. Best applied with an angled brush. This too requires a steady hand.
Felt-tip pen liner: This eyeliner is great for everyday application, as it combines precision and convenience together. Since, it is in the form of a pen, it is great for beginners.
The Step-by-Step Application
Here’s the professional approach to eyeliner application:
Step 1: Mind your hand
Rest your elbow on a flat surface and your pinky finger lightly against your cheek for stability. This helps avoid shaky lines.
Step 2: Draw in sections
Instead of one long stroke, break it into small, short dashes along your lash line. Then, connect them for a smooth finish.
Step 3: Tightline for depth
Apply eyeliner to your upper waterline to make your lashes look fuller without an obvious line.
Step 4: Perfect the wing
Imagine a line extending from your lower lash line towards the end of your brow. Draw a small flick in this direction. Connect the tip of the flick to the middle of your lash line, then fill in the gap.
Step 5: Refine with concealer
If you make a mistake, use a pointed cotton swab dipped in micellar water or a small concealer brush to sharpen the edges.
Pro tips for a flawless finish
Don’t pull your skin too much: This can distort the shape of the line.
Start thin: You can always make the line thicker later.
Balance both eyes: Keep checking that your eyeliner matches on both sides.
Use tape for sharp edges: Place a small piece of tape at the outer corner angled towards your brow to act as a stencil for the wing.
Layer for intensity: Go over your line twice for a darker, more defined finish.
Common mistakes to avoid
Skipping primer: Leads to smudging and fading.
Over-thickening: Can make eyes look smaller.
Uneven wings: Always check symmetry with your eyes open, not closed.
Using old eyeliner: Dried-out formulas create patchy lines and can tug at delicate skin.
Practice makes you perfect
Trust us when we say this but professional-looking eyeliner doesn’t happen overnight. The more you practice, the more control you’ll develop. Start with simple thin lines, then experiment with wings, cat eyes, and graphic designs as your confidence grows.
Removing eyeliner safely
At the end of the day, always remove your eyeliner thoroughly to avoid eye irritation. Use a gentle, oil-based makeup remover or micellar water. Soak a cotton pad, press it against your closed eye for a few seconds, and wipe gently without tugging.
Final Takeaway
Remember, your first few tries may not be perfect, but every stroke brings you closer to flawless precision.


